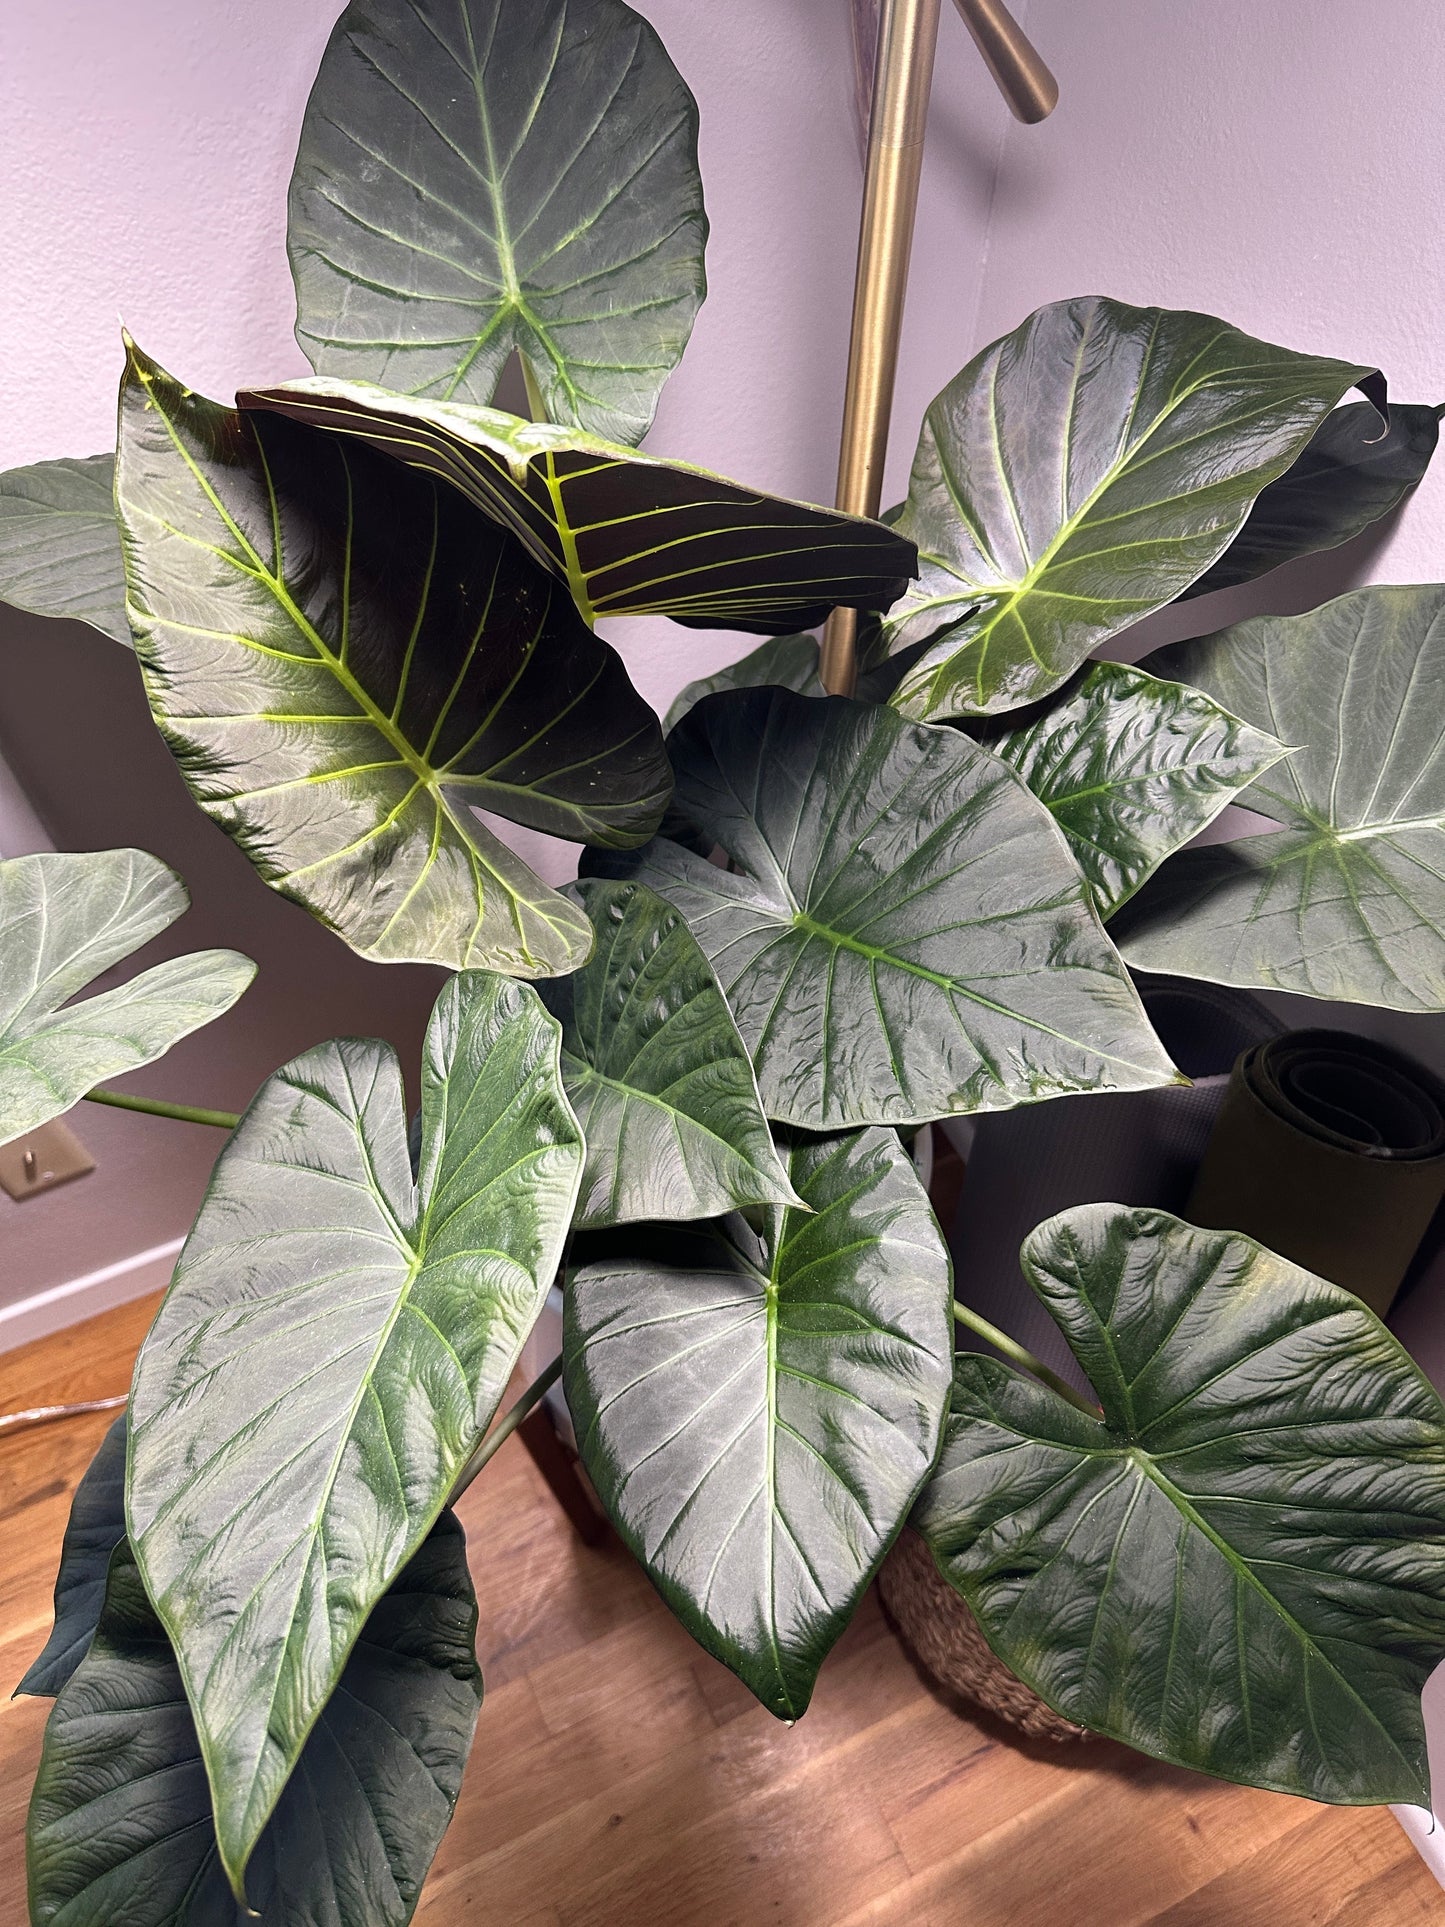
From corm to leaf, our best tips for growing Alocasia indoors.
Did you know Alocasia (just like oxalis) can happily go dormant during the winter months in your home? When temps drop and sunlight is less intense, alocasia may actually enjoy a long winter's nap unless kept in bright sun or under grow lights.

Native to the tropical regions of Southeast Asia and eastern Australian rainforests, these lush giants naturally take a rest during the winter months, shedding leaves and becoming little stumps before bursting back to life, reemerging brilliantly in the springtime.
When caring for Alocasia indoors, most likely you’ll want to avoid dormancy and keep your houseplant alive and full of leaves.
Here’s the best way to ensure your Alocasia doesn't go dormant in the winter:
- Keep Alocasia in a warm, sunny location during the winter
- Keep soil more dry during this time, watering just once every 2-3 weeks
- Wait to feed it Sacred Soil Tonic until early spring as your plants aren't requiring extra nutrients while in a semi dormant stage
- Keep the leaves hydrated and clean with a monthly Sacred Leaf Shower for optimal health
- It’s normal for Alocasia to look a bit less vibrant during the winter, but rest assured it’ll make a beautiful comeback in the spring once the light returns and you begin nourishing it regularly with our tonics.
Growing from corms
Corms are a bit like bulbs or seeds and harness all the energy of new life! We have a blog post all about corms too!
If your Alocasia is looking super rough, or has endured a bit too much cold or other trauma, and you'd like to begin again, no problem, you can simply cut off the damaged leaves, dig up the corms & to start over (we recommend doing so in late winter or early springtime or keep under grow lights for best results).
Here’s a good method to grow Alocasia from corms
- Gently dig up soil and search for the little corms (dark brown bulbs) and separate them from the roots with clean scissors if they are still attached. There are generally 2-3 corms attached to each root.
- Peel away the outer shell to allow for faster germination but if you skip this step it's ok!
- Find a tiny cup, a to-go container, bottle top or shot glass and add a thin layer of wet pumice and fluvial stratum to the bottom OR you can place each corm into a bottle cap, fill halfway with just water and cover with an upside-down glass to retain moisture OR place corms directly into soil, pointy side up! Each method works for us, just be sure to keep them covered to trap the humidity.
- Keep in a warm, brightly lit environment and hydrate with a spray bottle every few days. You can also cover with a plastic bag or to-go lid to keep them hydrated for longer periods of time.

5. After about 2 weeks you'll notice roots growing and after another 2 weeks weeks tiny leaves will emerge. We recommend letting the corms grow at least two-three leaves before transplanting. To transplant your rooted corms find a pot with drainage about 3-4 inches around and 3-4 inches deep (a repurposed plastic cup with a few poked holes works great for this step).
6. Next mix your soil or soil(less) planting substrate. You can try equal parts perlite and fluval stratum or equal parts organic potting soil, perlite and orchid bark. The idea is to create a home with good aeration, drainage and nice water retention.
Once planted, water well and keep in warm brightly light location or under lights. Offer your Alocasia a Sacred Soil Bath and Sacred Leaf Shower once a week to nourish and ease the transition into their new substrate. As alocasia are tropical, they love a warm, humid and brightly lit home.
Alocasia and Pests
Alocasia are known for attracting spider mites and if that happens, not to worry! We have the best tried and tru solution for you: Sacred Leaf Tonic! Countless testimonials and dozens of hands on experiences with spider mites and alocasia have us very pleased with our product! Here's our spider mites blog post to guide you in case they show up.
Notice a build up on wax on the underside of alocasia leaves? Nope, it's not mealybug (here's a look at those pesky pests) but it's an abundance of the natural protective coating, the epicuticular waxes that occur within your alocasia.
Here's a deep dive into our Epicuticular Waxes blog too!
Wishing you all the best for happy, healthy growing experience with your alocasia! Feel free to email us with any questions hello@sacredelements.world we are here for you!
Sending love, Karina and Team SE


