Mealybug Help
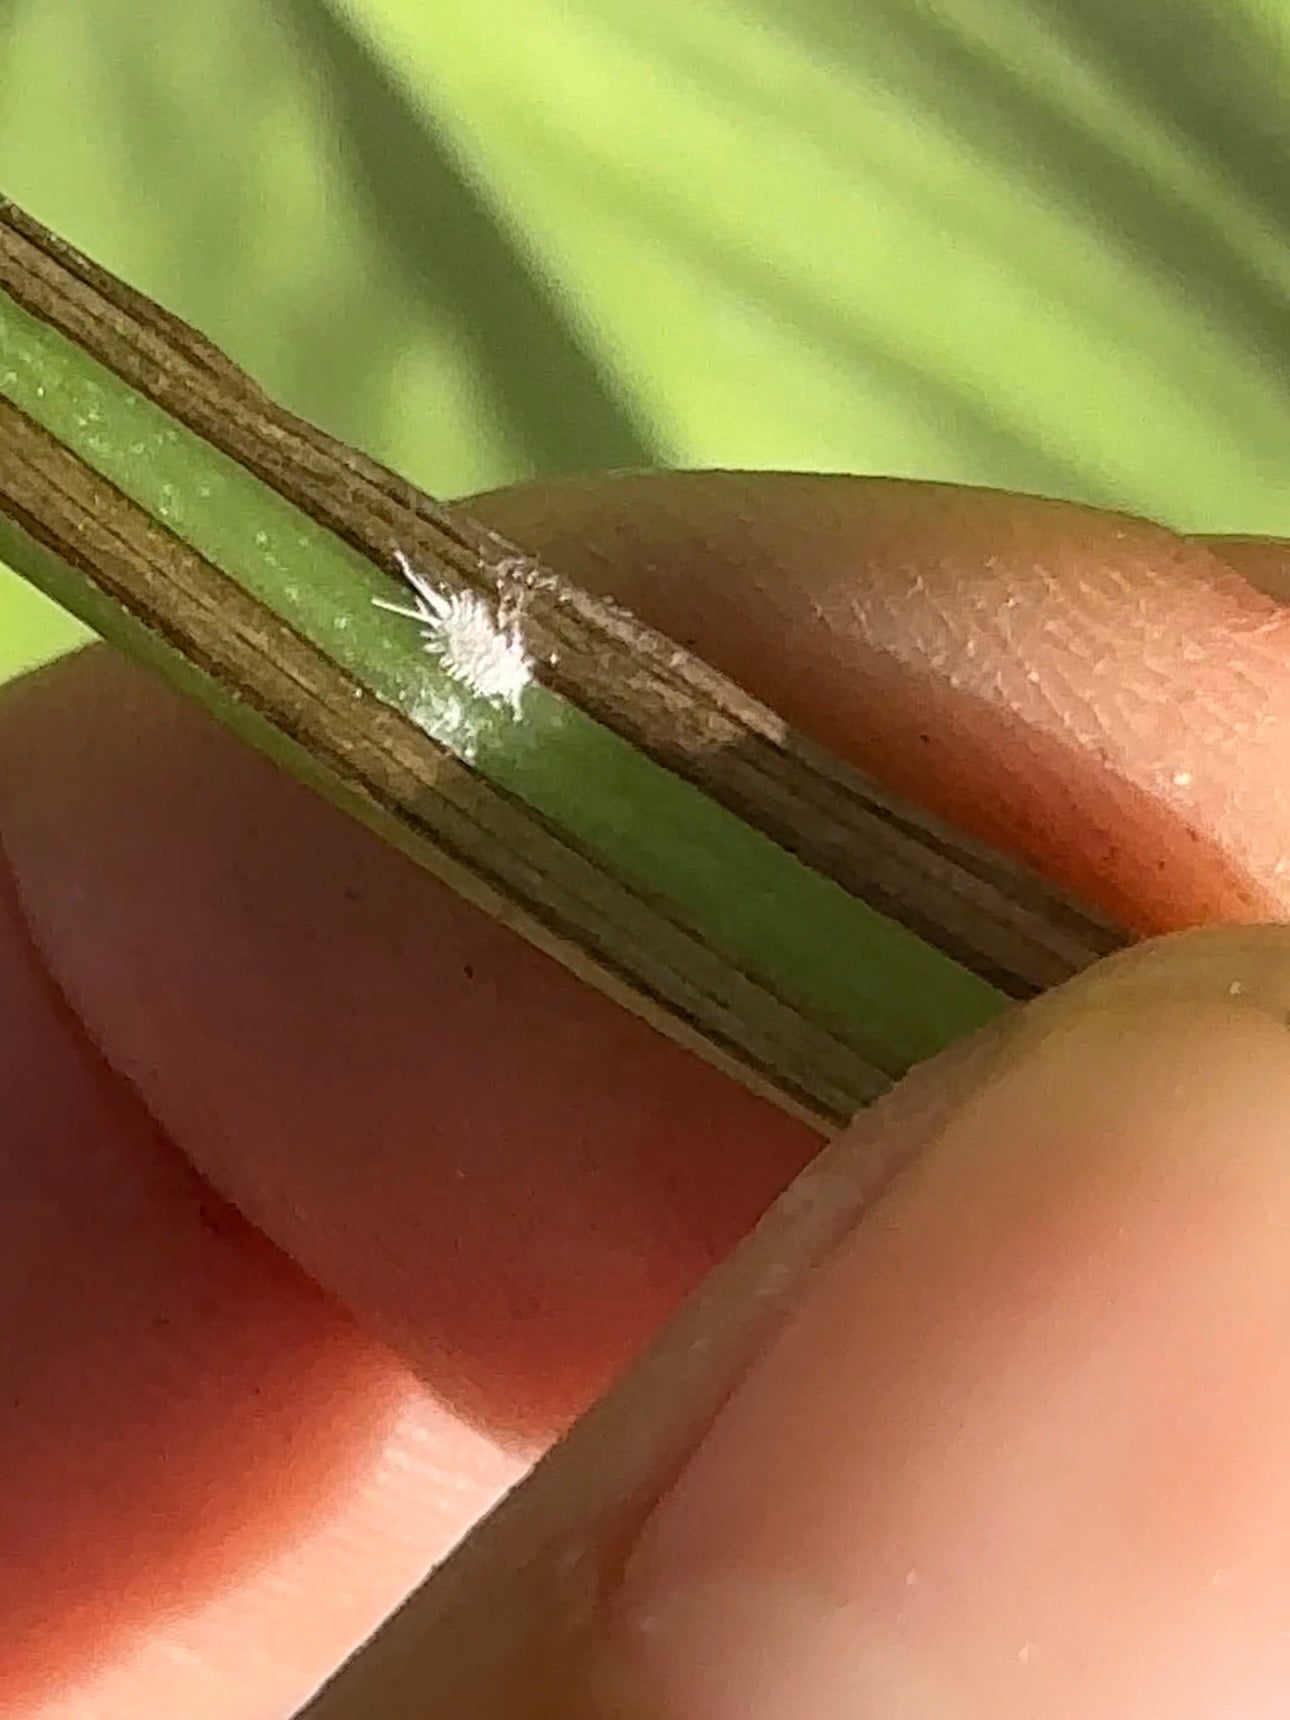
Plant parents, we got you! Spot a fuzzy, little cotton ball on your houseplant? Looks harmless enough. Unfortunately what you have most likely discovered is the powerful life force sucking plant pest Planoccoccus Citri or Citrus Mealybug.
These innocent looking creatures quickly reproduce to slowly destroy, or seriously stunt the growth of your green babies. It can be frustrating and heartbreaking but you're not alone and we'll do everything we can to help!
A mealybug life cycle is 7-10 weeks long. The eggs take 1-2 weeks to hatch into nymphs and another 6-8 weeks for nymphs to mature into adults. This is why their life cycles can easily overlap and populations can explode out of control quickly and quietly before you even notice.
To make things worse, they can survive hidden out of sight in crevices without a host plant which is why cleaning and treating all the surfaces on and around your plant.
The way mealybugs harm plants is two fold:
1. They suck the sap which decreases your plants ability to photosynthesize which then stunts growth and overall health of your plant.
2. They produce a substance called #honeydew which is the perfect environment for sooty mold to grow. Black sooty mold, as you may have guessed by the name, is not a good thing for plant health.

Mealy and Ants
*Full disclosure friends, it is not always possible to save your plants once mealy bugs have taken hold. It depends on the severity of the infestation and the current health of your plant before you begin treatment and then staying persistant with treatments. We have successfully rid most mealies from our houseplants by following these steps:
TREAT MEALYBUG

STEP 1: ISOLATE & CLEAN
Isolate infected plant and any plants touching it or in the immediate area of the infected plant. Sterlize the area and pot with rubbing alchol and water spray or other cleaning solution and wipe down all surfaces paying attention to those cervices and under the pots! If your plant is too large and repotting is not an option, then do your best to clean and sterilize the pot and wipe down surfaces around the pot, then go directly to STEP 4 and begin treating with Sacred Leaf and Sacred Soil tonics. You will need to increase the amount of time for full recovery.
STEP 2: RINSE & PRUNE
Nest, shower in the sink or hose down entire plant, rinsing to remove as many mealybugs as possible. Be sure to get the undersides of leaves, crevices between stem and leaves, and the stems. Allow to dry, then with clean scissors, prune away any damaged leaves or stems and discard.
STEP 3: REPOT
Use fresh soil to plant up your baby back into the cleaned and sterilized pot to give it a new start before moving on to the next step.
STEP 4: SPRAY and DRENCH
This is where our natural plant tonics really shine! Now that your plant is mostly pest free, it's time to keep it that way! Remember, persistance is key to success. Use both Sacred Leaf & Sacred Soil Tonics to spray leaves and drench the soil. You'll be combatting pests while nourishing your plants plus boosting immunity to ward off any future attacks. Our tonics work to naturally disrupt mealybug appetite & reproduction so it will take a few weeks of care.
Suggested schedue of treatment for mealybug (and most plant pests)
We welcome your before and after success stories here too! Feel free to take pics and send us an email so we can share your experience with our plant loving community!
Best wishes and happy growing!
much love,
Karina and Team SE


